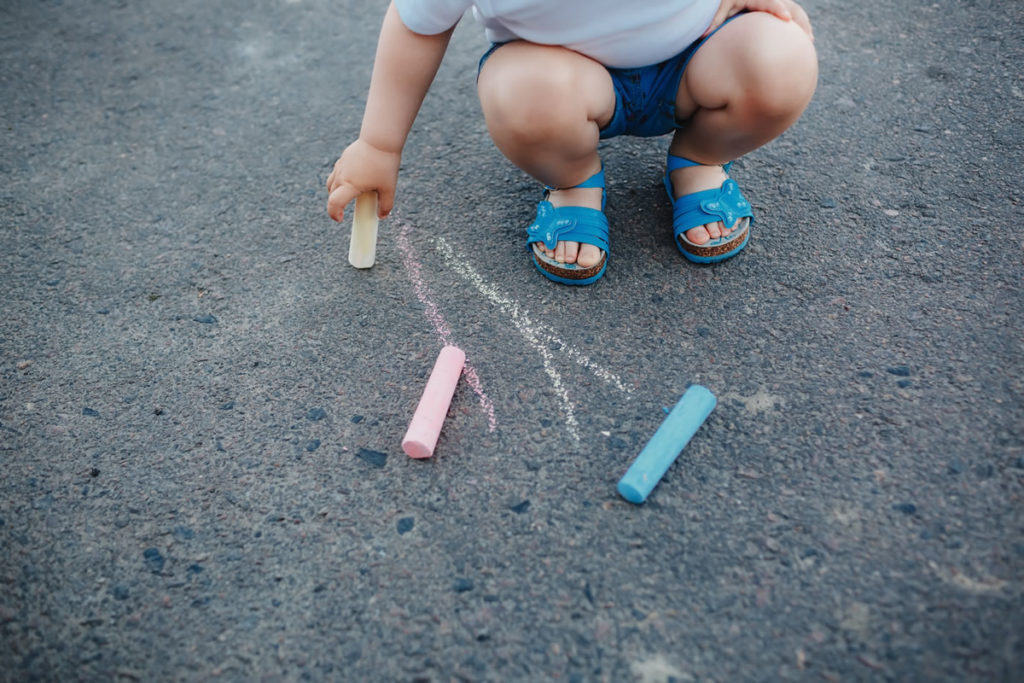
Chalks are utensils that can entertain children a lot, but they are also useful for learning, so they can be used to play in the yard or at home or to be used on the blackboards in the classroom. It is also a product that can be easily made at home, so there is no excuse for not having chalk always available and to allow the little ones to put themselves in the shoes of their teachers in front of a blackboard, something very typical of the game imitative.
There are different homemade ways to make chalk , but today we will focus on two particular ways: one in which plaster is necessary and which is an activity suitable for children and adults, and another special recipe for the smallest of the house and for allergy sufferers, as it is a recipe to make biodegradable and non-toxic chalk.
Homemade chalk with plaster
This, in particular, is the traditional way of making homemade chalk and is certainly more recommended for children from elementary school and up, and always in the presence of adults (not for very young children). To carry out the recipe we will need half a cup of plaster, tempera of the color you want the chalks to have, dishwasher soap, waxed paper to prevent the chalk from sticking to the mold, a mold (which can be made of plastic or cardboard) to give the shape to the chalk and a container to make the mixture.
Steps to make the plaster chalk
- Place the waxed paper in the mold chosen to make the chalks. Make sure the waxed part is in contact with the chalk.
- In a container add half a cup of plaster, two tablespoons of paint or tempera of the color you want and two drops of dishwasher soap.
- Mix the plaster and paint well until you have a smooth mixture.
- Pour the mixture into the molds and spread it with the help of a spoon.
- Cover the mixture with wax paper.
- Place the mold in a dry environment and wait for it to fully solidify , about 12 hours.
You already have a homemade plaster chalk ready to use and paint whatever you want!
Homemade chalk with cornstarch and water
With this recipe we get a type of biodegradable homemade chalk that you can give without any concern to young children, without fear of allergies or getting them in their mouths. They are also very easy to make, you will only need cornstarch and water in equal quantities. If you want to add some color, you can use a few drops of food coloring. You will also need a mold to shape the chalk (which can be cardboard or plastic), a container to make the mixture, and wax paper.
Steps to make cornstarch and water chalks
- Cover the molds with the waxed paper and make sure the waxed part is in contact with the mixture.
- In a container, place the water and cornstarch in equal parts and mix well until you have a homogeneous mixture.
- If you want to make several colored chalks, you must separate this mixture into several containers and add a few drops of coloring to taste. Remember to mix everything very well.
- Pour the mixture into the molds with the waxed paper, you can help yourself with a spoon.
- Let dry for about a full day.
If you have followed all the steps well, you will already have chalk ready and suitable for small children. Let’s do it!
This activity can also be ideal to carry out in the classroom and to make children aware of the need to discover homemade recipes and more ecological ways of making materials that are useful for everyday life and free of toxicities. The little ones will not only have a great time being able to paint and write on a blackboard with chalks made by themselves and in their favorite colors, but they will also be able to realize all their capabilities and everything that can be achieved with a little ingenuity and work. And it is that anger is not for less … because sometimes it is possible, simple and fun to make the material of dreams yourself.
To paint and write without stopping!


