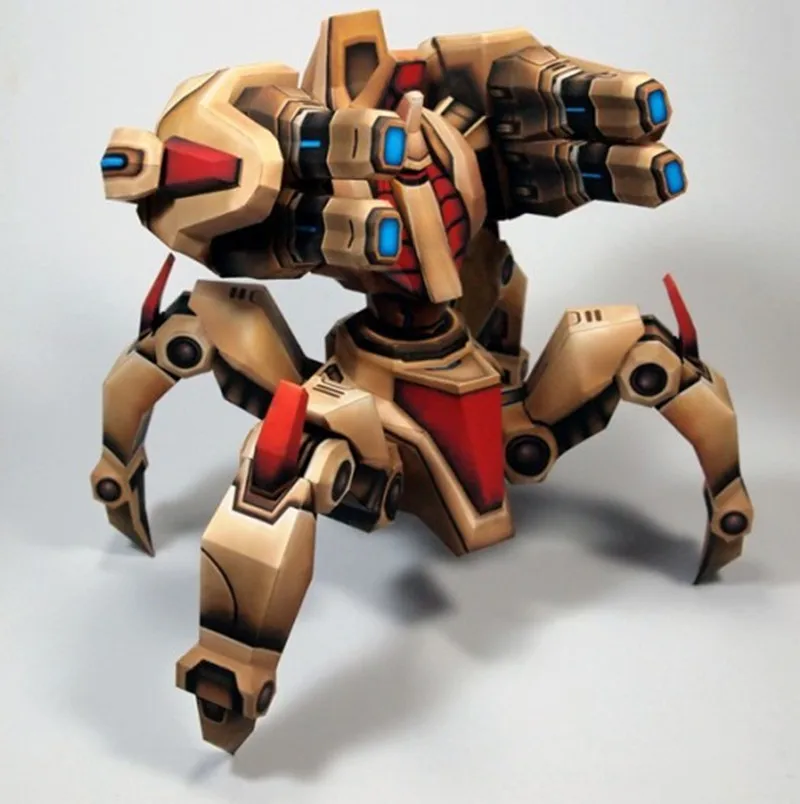
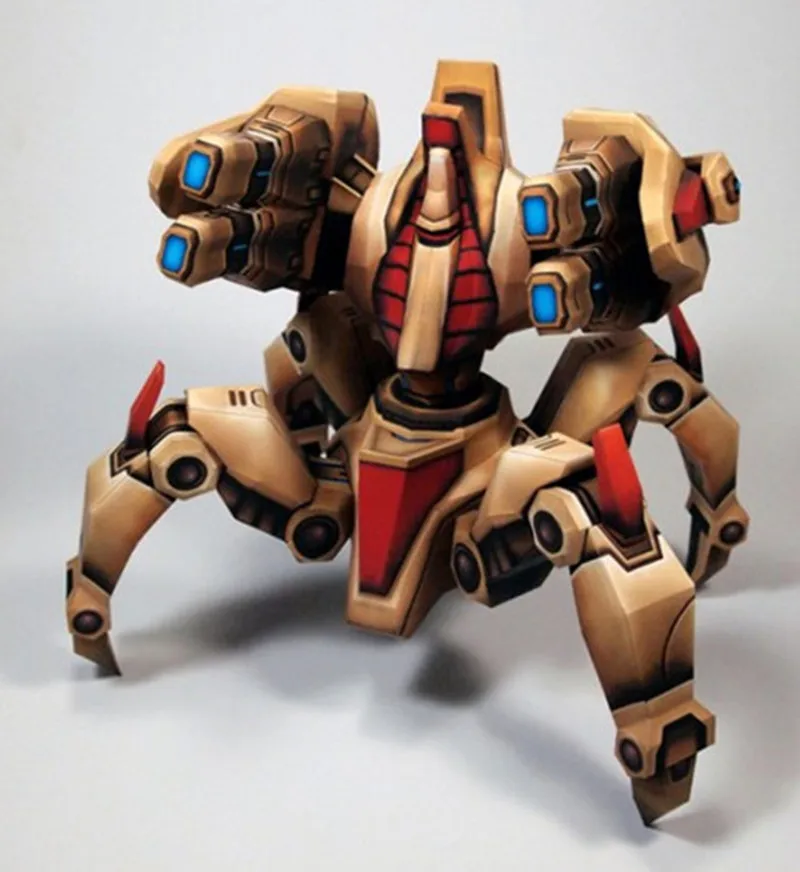
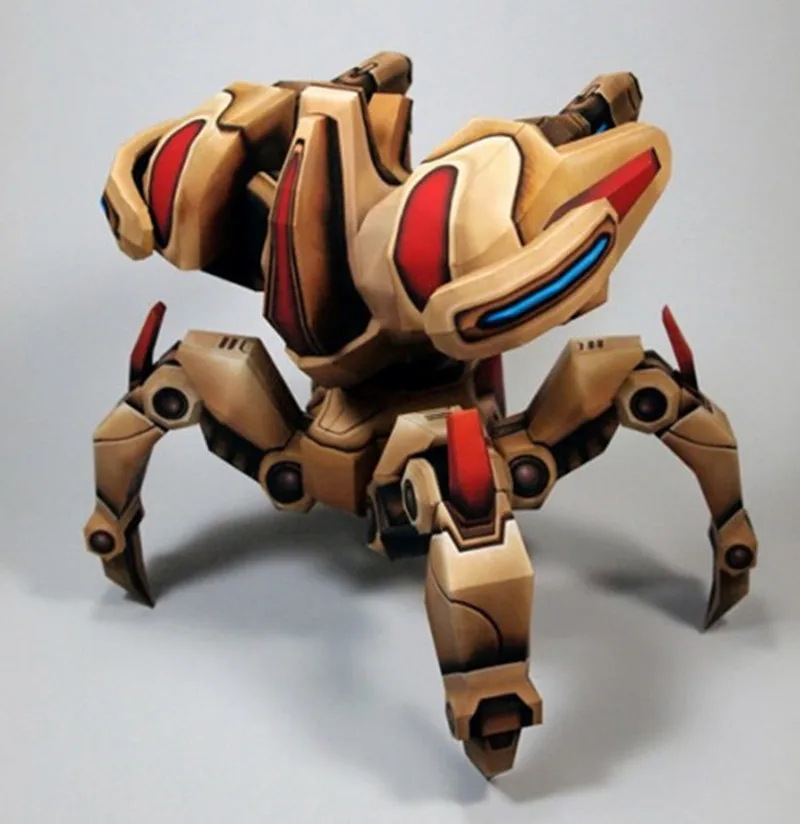
Description
Description
Height:about 16cm(6.3″)
Width:about 17cm (6.7″)
instruction: electronic edition
You will receive a set of colour-printed A4 cards not a finished model


Guide to build :Basic steps to make Paper Models.
1) Cut out each part roughly.
2) Use a pencil to mark note softly behind each part to avoid disorder (Don’t use a pen as it probably makes damaged trace on the front side).
3) Use Scissor or Craft Knife to cut parts precisely by following the outer edge. The level of precision affects the effect of combination. (Cut the most outer edge if the line is thick).
4) Smear white adhesive cement on one of the 2 parts which needed to be stuck together.
5) Stick them together until the cement bone-dry.
Suggested TIPS :
A. For Scissor cutting, suggest not to push the Scissor but pull the paper.
B. To make the fold of parts better, please put the part firmly on the table, and put the ruler on that to fold the line. If you have to fold inside, you could first fold it softly outside to make the trace, and fold it back to inside then.
C. To make the curved parts better, place the part on the corner of table then push and pull it back and forth.
D. To make parts like cylinder, use tools such as pen to assist to make the curl more natural.


A***r –
A***f –